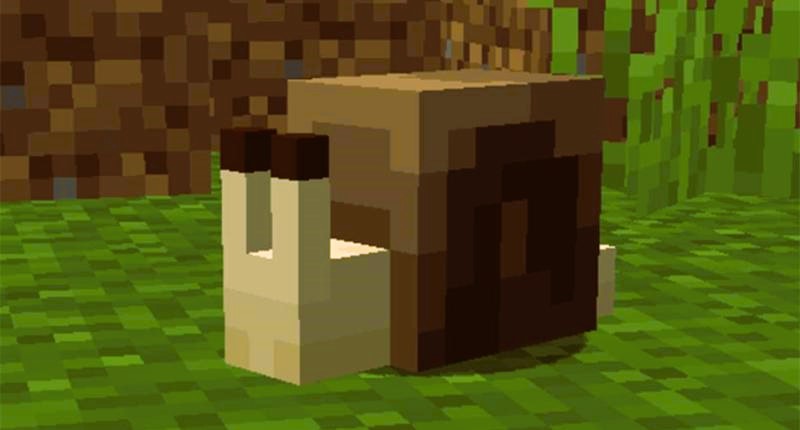
Mods (modifications) are a great way to enhance the gameplay experience on your Minecraft server. They add new features, mechanics, and content that can drastically change the way the game is played. Whether you’re looking to introduce new biomes, creatures, or even entire dimensions, mods can provide endless possibilities. This guide will walk you through the process of installing and using mods on your Minecraft server.
Understanding Mods and Their Benefits
Mods can range from simple changes like adding new items to complex overhauls that introduce new game mechanics. They can be created by anyone in the Minecraft community, leading to a diverse range of available modifications. Some benefits of using mods include:
- Enhanced Gameplay: Mods can introduce new gameplay mechanics that provide fresh challenges and experiences.
- Customization: They allow you to customize your server to better suit the preferences of your community.
- Extended Content: Mods can add new dimensions, biomes, creatures, and items, extending the content beyond the vanilla game.
- Improved Aesthetics: Visual mods can improve the game’s graphics and provide a more immersive experience.
Prerequisites
Before installing mods, ensure your server meets the following prerequisites:
- Java Edition: Mods are typically only available for the Java Edition of Minecraft.
- Server Hosting: You need access to the server files and the ability to install additional software.
- Forge or Fabric: These are mod loaders required to run mods. Forge is more commonly used, but some mods may require Fabric.
Installing Forge

Forge is the most widely used mod loader for Minecraft. Here’s how to install it on your server:
- Download Forge: Go to the official Forge website and download the version that matches your Minecraft server version.
- Install Forge: Run the Forge installer on your local machine. Select “Install server” and choose a directory for the server files.
- Upload Forge Files: Once the installation is complete, upload the Forge server files to your hosting provider via FTP.
- Run Forge Server: Rename the Forge jar file to match the server’s startup script and run the server to generate the necessary files and folders.
Installing Mods
After setting up Forge, you can start installing mods. Here’s the step-by-step process:
- Download Mods: Find the mods you want to install from trusted sources like CurseForge or the Minecraft Forum. Ensure the mods are compatible with your version of Forge.
- Upload Mods: Access your server’s directory via FTP and navigate to the “mods” folder. Upload the mod files (usually .jar files) into this folder.
- Configure Mods: Some mods may require additional configuration. Check the mod’s documentation for any specific setup instructions.
- Restart Server: After uploading and configuring the mods, restart your server to apply the changes. Read about the benefits of using banners to promote your Minecraft server in our article.
Using Mods on Your Server
Once installed, mods can be used immediately. Here are some tips for using mods effectively on your server at Minecraft server hosting:
- Communicate with Players: Inform your players about the mods installed on the server. Provide download links if they need to install client-side mods to join.
- Test Mods: Test the mods thoroughly to ensure they work as expected and do not conflict with each other.
- Monitor Performance: Some mods can be resource-intensive. Monitor your server’s performance and remove any mods that cause significant lag or crashes.
- Update Mods: Keep your mods updated to the latest versions to benefit from new features and bug fixes.
Popular Mods to Consider
Here are some popular mods that can enhance your Minecraft server:
- Biomes O’ Plenty: Adds a variety of new biomes with unique features.
- Tinkers’ Construct: Introduces new tools, materials, and crafting mechanics.
- Thaumcraft: Adds a magic system with spells, wands, and mystical artifacts.
- Industrial Craft 2: Provides new machines, tools, and automation options.
- Pam’s HarvestCraft: Expands the game’s farming mechanics with new crops, food, and recipes.
Troubleshooting Common Issues

When working with mods, you might encounter some common issues. Here’s how to troubleshoot them:
- Server Crashes: If the server crashes, check the crash logs for errors. Ensure all mods are compatible with your server version and each other.
- Mod Conflicts: Some mods may conflict with others. Identify and remove conflicting mods or look for compatibility patches.
- Performance Issues: If the server experiences lag, consider removing resource-intensive mods or upgrading your server hardware.
- Missing Textures/Models: Ensure all required dependencies for the mods are installed. Some mods require additional libraries to function correctly.
Installing and using mods on your Minecraft server can greatly enhance the gaming experience, providing new content and features that keep players engaged. By following this guide, you can successfully install and manage mods, ensuring a stable and enjoyable environment for your community. Remember to regularly update your mods and server software to maintain compatibility and performance.
For more detailed information on Minecraft mods and server management, you can visit reputable sources such as Wikipedia. These resources provide in-depth guides, reviews, and community insights to help you make the most of your Minecraft server.

